For today’s blog update I thought I’d talk about the importance of making jigs on site.
Ever since I can remember I’ve adapted, modified and recycled materials and old tools to be
used for an abundance of useful aids on various jobs. From the humble hole in the bottom
of an old bucket trick, used to direct waste into bin bags without the bag collapsing; to the
Sainsbury’s bag for life to hold all your dry ridge brackets, whilst shuffling along the
ridgelines, I’ve tried it all. Some have worked better than others of course, but it’s always
worth a try to shave off those minutes at the end of a day, or purely to not feel so broken at
the end of a hard week.
Let’s take a look at some of my jigs from the current barn roof we’re restoring.
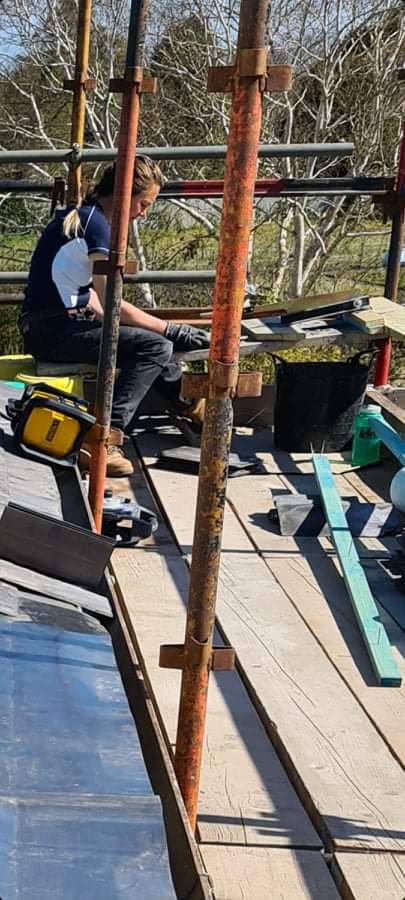
Picture one is a simple jig used by almost all carpenters at some point. Just a backing plate
to slide up all these split oak laths to be cut precisely at 1200mm. The rafters are 400mm, so
using this method of pre-cutting the laths from roughly 4 feet each, to exactly 1200mm
saved us lots of time and effort cutting them individually on the roof. We also had a jig for
pre-holing the lath. A very simple one. A length of scaffold board with 4 sets of 400mm
drawn out in a linear line. This way we can line up 3 or 4 laths at a time and drill 4 holes
through all of them at the same time, again, avoiding the need to keep getting your tape
measure out.
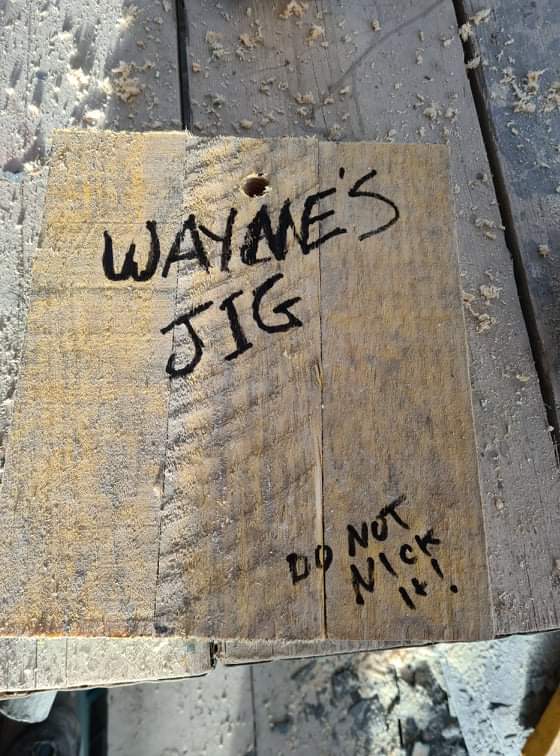
Picture 2 is a jig I made up for knocking oak pegs through a slate, effectively reducing the
amount of broken slates.
So, like almost all jigs, it’s very, very simple. It’s transportable, light and can be used for all
the size slates which we have for this project – 11, 10, 9 and 8 inch lengths and random
widths. The widest slate I found was 10.5 inches so I made the jig 11 inches squared. All our
slates have been holed on site an inch down from the head. The holes are 9, 10 and 11mm
in diameter. With this in mind, I centralised a hole 1 inch down from the head of the jig
using a 13mm spade bit. The hole depth is precisely 47mm deep allowing us to mash the
tops of the oak pegs, providing a slight head just off flush with the surface of the slate.
This is one of my favourite jigs of late and I like it so much we no have four for all our
labourers to use.

Picture 3 is actually from a previous job I did in the spring. (Apologies for terrible photo)
You got it. Its a sizing bench for cutting slate. In this instance we used a guillotine with a
couple of scaffold boards set slightly apart from one another. The gap in the middle gave a
nice access gap for slate debris to fall through into a gorilla tub.
On the board we drew a 7 inch line and a 14 inch line. This way we could position our slates
vertically and horizontally to cut a perfect 14×7. The boards also provided a comfy working
bench to sit on, particularly with the additional charity shop pillow which we purchased a
couple of days after making it. I also built up the guillotine so that is was at a slight angle,
making it easier to cut for longer periods of time with less fatigue.
Now, I’d really like to see or hear about your favourite, most useful site jig!
Its things like this that really help and I know that everyone out there has a unique way of making their days efforts easier, safer and/or faster!
I’d like to finish up this blog post with this question… – just how very British is this post? I
think I flipped between the imperial and metric system about 5 times. Aren’t we so
ridiculous?
Right I’m off for run now any way, just a quick 5k down the local park a mileaway, hahaha.
Thanks for reading.
Russ